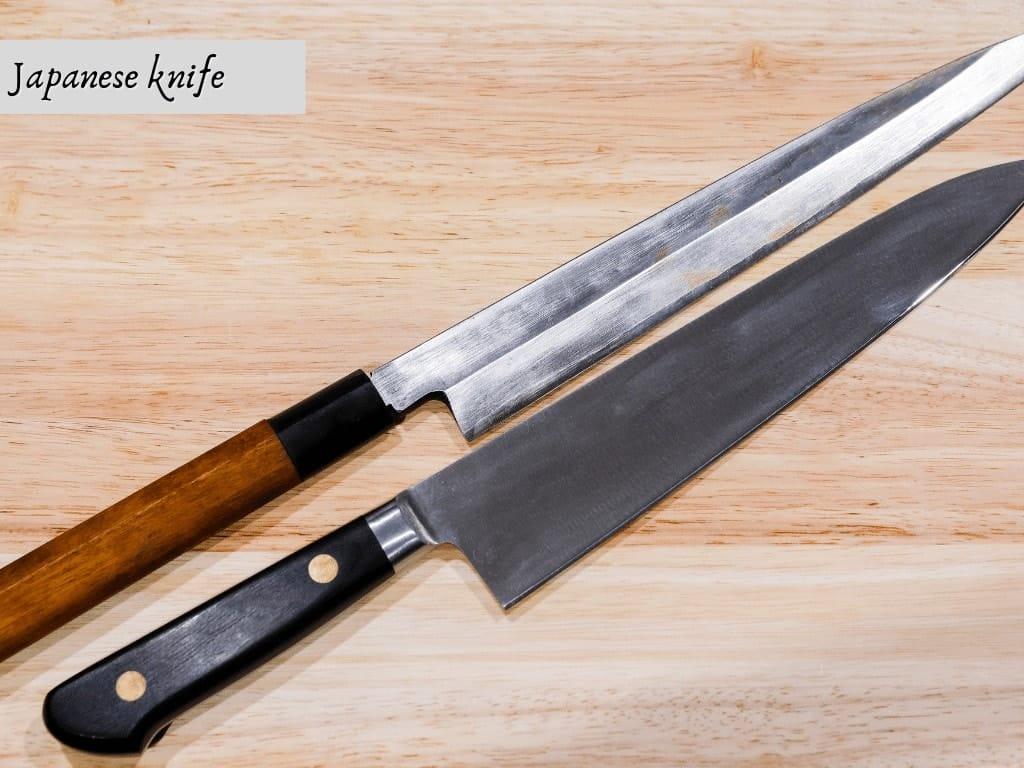
Japanese knives are among the best globally but are useless if not sharp enough.
A blunt blade will consume much of your effort and time to make it sharp. That’s why most chefs around the world sharpen their Japanese knives while still sharp. It becomes easy and fast.
Whether you are a budding or professional chef, you wouldn’t want your knife to be blunt. It will alter the original flavors of the fresh ingredients you cut. Professional cooks value quality cuts. A dull blade cannot give such a cut.
You may also slip your hand and cut yourself while using a blunt knife to slice your foodstuff.
Also, you will need to apply extra pressure to have your vegetables or meat chopped or sliced. That’s why we’ll talk about sharpening a Japanese knife in this article.
If you are a weekender foodie, an upcoming, or already experienced chef, you may need to continue reading. You will also learn about knife sharpening options, ways, and benefits.
Let’s dive into what to do when you notice your knife is blunt. You will have only the following two options;
What to do with a blunt knife
A. Request a professional to sharpen it for you
Employing a quack may damage your knife. The service may be cheaper but expensive in the long run. If you aren’t sure who to call, ask for reviews and recommendations from people who employ knife sharpening services.
Your area’s directory may have quality sharpening service providers. Contact them and compare their services. Then choose the best one of them all.
B. Do the sharpening yourself.
Whether you are sharpening it or have hired an expert, the knife will sharpen using various methods. All knife sharpening methods are ideal at home and in commercial places.
Some chefs usually sharpen their knives when still very sharp. Avoid it because sharpening involves removing some pieces of metal used in making the blade’s edge.
If you sharpen unnecessarily, you remove those metal pieces unnecessarily, making your knife wear out quickly.
But this doesn’t mean that you’ll have to wait for your knife to be blunt to sharpen it. As stated above, it will make the process hard and take much of your time.
Regarding this, you may wonder about the best time to sharpen your knife. Here is the answer;
The best time to sharpen a Japanese knife
When you notice that your knife has started becoming dull in its operations, it’s time to have its edge sharpened.
It involves the removal of some amounts of metal using a sharpener. Knife This helpful tool comes in various categories as follows;
Tools used to sharpen Japanese knives
I. An electric knife sharpener
Most chefs love using electric knife tools because they are easy to use.
Since the sharpening tools are electric, the abrasives rest on motorized wheels, which turn against the blade. Most manufacturers offer user instructions to avoid mistakes.
After putting on the sharpener, hold your knife to the abrasive lightly, but secure enough not to avoid the knife falling off.
The machine comes with various slots for sharpening. Place your knife’s blade in the ideal space, smoothly and slowly. Then allow the device to do its work.
This method is ideal for less valuable Japanese knives. Sharpen your precious knives from Japan with a whetstone (to be discussed below). With a wrong move, the electric tool can ruin your priced and valued knife.
Electric knife sharpers are recommended because of the following benefits;
Advantages
- The machines contain several grinding slots with different blade coarseness to prevent over-sharpening.
- The first slot comes aggressively to repair extensive damage quickly.
- Thanks to the spring-loaded guides that restrict the knife from moving to allow steady contact of its blade with the abrasive, the sharpening process is easy.
With the above benefits, it doesn’t mean that electric tools do not have some shortcomings. They include the following;
Disadvantages
- You will need to dig deeper into your pockets to own one
- If your knife has a full bolster, sharpening it with an electric machine is impossible.
II. Manual knife sharpeners
Unlike the previous tool, these devices consist of non-motorized wheels or a V-shaped chamber for the abrasive material.
While sharpening your knife, you need to pull the blade through the section using consistent pressure. If unsure of how to sharpen your knife, check the instructions manual that comes with the machine.
Manual knife sharpeners have won the hearts of many chefs globally. Are you wondering why? Here is the insight;
Advantages
- Most users can afford them
- The machines come with tall walls responsible for keeping the knife steady while the user draws it through the sharpening chamber using constant pressure
- The devices consist of thin bodies, making them easy to store in a kitchen drawer for convenient use.
- Sharpens various commercial kitchen knives excellently and fast
- Perfectly sharpens full bolster knives
The machines seem perfect but come with the following drawbacks;
Disadvantages
- The tool cannot repair a severely damaged blade, such as removing notches
III. Whetstones
Like their name, they are devices that look like stone and come designed to sharpen knives. You can buy one from a store next to you. Using a whetstone requires practice and a set procedure. Here is how to use one;
How to sharpen your knife from Japan using a whetstone
Step 1: Place the stone securely on a countertop
The first thing to do is to set the whetstone securely. If your whetstone does not come with a unique stand for holding it firm while sharpening your knife, place a damp paper towel or rubberized shelf liner under it.
Step 2: Start sharpening one of the knife’s sides
Turn the knife’s blade away from you and place it on the whetstone. Hold the knife’s handle with one hand and its middle part with your other hand. Ensure your fingers stay flat.
Also, avoid the knife’s sharp edge. Then start pushing the blade down and in a circular motion.
Maintain holding the exact angle of the blade until the knife’s tip runs off to the other side. Keep on doing it until the knife’s dullness disappears.
Step 3: Confirm the first side’s sharpness
After several rounds of gliding the knife’s blade against the whetstone, check whether it has gotten sharpened enough.
Test by running your thumb perpendicularly to your knife’s blade edge. If you feel the burr from the knife’s handle to its tip, that side’s sharpness is okay.
Step 4: Sharpen the other side
Switch your knife to the other direction and start sharpening using the same process. Repeat several times until the sharpness is as intended.
Step 5: Turn the whetstone on the fine side and repeat the sharpening of both sides
A whetstone consists of a fine and rough side. The above sharpening process begins with the coarse side.
After sharpening, turn the whetstone to the fine side and repeat the sharpening procedure until both sides get optimally sharpened.
Like other sharpening methods, whetstones come with several benefits. Here is what you’ll enjoy when you sharpen your knife using a whetstone;
Advantages of whetstones
- The stones come at pocket-friendly prices
- You will enjoy the device’s services for many years
- It adapts excellently as the user holds the knife at an angle that matches the blade
- Whetstone sharpens knives with full bolster
- It contains a fine and coarse side for regulating the sharpness
As someone not familiar with using a whetstone, you may not like the following;
Disadvantages of a whetstone
- Restoring a dull blade may take long
- Using this device requires practice, which might take time to master
You need to soak your whetstone while sharpening your knife for optimal results. But avoid over-soaking as it will reduce the whetstone’s quality.
Always dry the sharpening stone with a dry, clean towel (read our article on how to clean a Japanese knife.) after using it. Then place it in an airy place to dry.
It is advisable to store it while wrapped in a towel to guarantee dryness and prevent it from getting molds.
As explained above, sharpening a knife made in Japan can be done in many ways. But whatever method you choose, you need to consider some things for safety and maximum results.
The following are things to note when sharpening a Japanese knife;
Key considerations for sharpening your Japanese knife
- You may need to touch the blade directly to test the degree of sharpness. It would help if you were careful because the sharp edge can cut you.
- Avoid sharpening the blade’s edge so thinly. As a result, the cutting edge may develop nicks that make it lose its sharpness.
- While sharpening the knife, handle it with care as the blade keeps on getting thinner as you sharpen it.
After spending time sharpening your knife, you may wonder if you’ve done an incredible job. To know whether your knife is sharp, you can carry out the following tests;
How to check a sharp knife
1) Paper test
It’s a straightforward procedure. You only need to use your knife’s blade to shave thin paper strips. If your knife is sharp, it will cut through the paper smoothly and very fast.
A blunt knife may get caught as you cut the paper and leave jagged edges. While carrying out this test, both the paper and knife shouldn’t be wet or damp for optimal results.
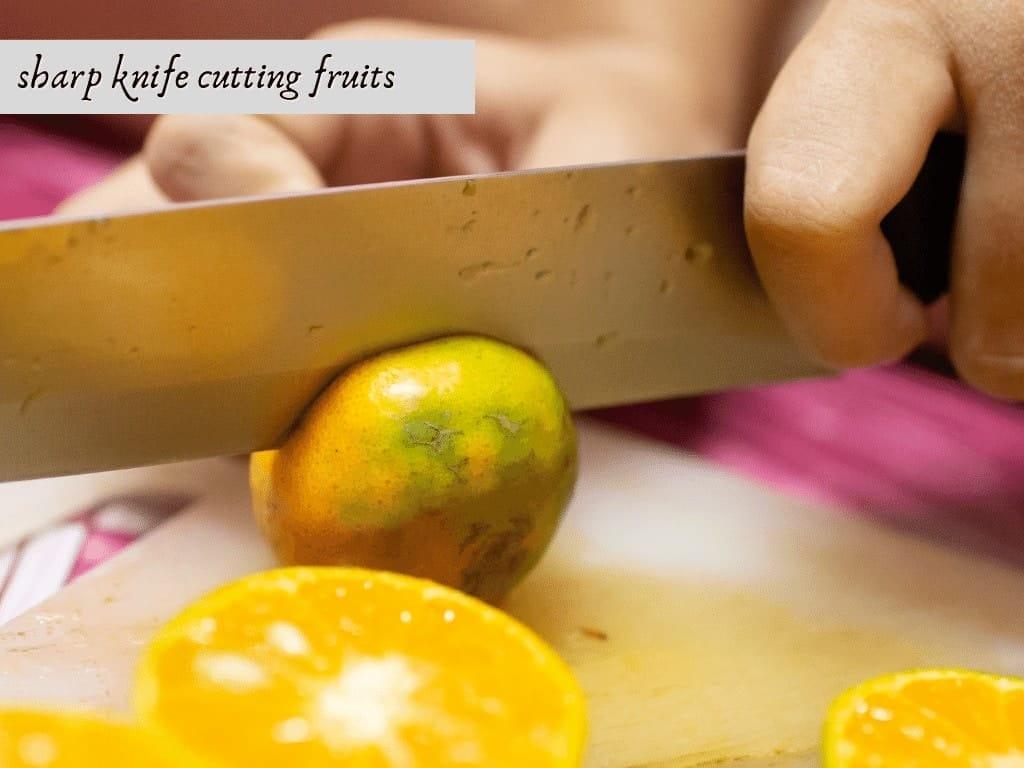
2) Food method
Using food is the best method to test your knife’s sharpness. You can cut or slice vegetables like onions, tomatoes, and scallions. If the blade cuts precise slices quickly without squashing the food item, then its sharpness is okay.
If you find yourself exerting more pressure to cut the vegetable, and it seems squashed or damaged, it means that your knife is dull or blunt.
3) Nail test
Take your knife and gently place its blade on one of your fingernails. Do not apply pressure but use the knife’s weight to press into the nail. I
f the edge digs a little into your nail, your knife is sharp. If it slips across your nail, the blade is blunt or dull.
Now that your Japanese knife is well-sharpened and ready for the task, you need to be careful how you store it. Keeping the sharp blade with other cutlery and small kitchen tools is not a wise decision.
The knife’s sharp edge may damage other things stored together. You may also cut yourself if stored poorly or in a place where you can’t spot it.
The sharp knives may also become dull fast when they slide against other metal items. To avoid all these problems, here is how you should store your sharp knife.
How to store a sharp Japanese knife
i. Magnetic knife blocks
They are accessories designed to store sharp knives. The blocks contain magnets that help stick the knives safely onto the board. But, according to experts, the magnetic blocks and racks may make the knives’ molecular level misalign.
ii. Non-magnetic knife blocks
The blocks are the opposite of the magnetic ones discussed above. Instead of having magnets to stick the knives, the block comes with slots for storing the blades.
Consider the size and design of your knife before buying one. Some knives may not fit in these blocks. The best option is to buy a universal knife block with slots of various sizes.
iii. Wall-mounted magnetic blade strips
It comes as a strip incorporated with magnets. You only need to mount it on your kitchen wall and place the sharp knives on them.
Because of the attraction, the blades will stick securely, freeing up your kitchen drawer. If you have many knives to store, consider a long strip.
iv. Knife saya
A knife Saya is a protective sheath made for storing blades. It is an individual cover that keeps the knife safe and looking better.
The polypropylene material used in the Saya makes it safe to store with other cutlery and kitchen tools.
Secrets unveiled: A pro’s tips for Japanese knife mastery
I came across this fantastic technique from a professional on sharpening Japanese knives, and I couldn’t resist sharing it with you.
This savvy individual uses two oilstones and a generous amount of honing oil to achieve the perfect edge.
First, there’s this fine synthetic Carborundum stone, with 1000 grit. He then switches things up with a chic marble slab, almost like a high-end Norton 8000-grit Waterstone.
Here’s what he shared.
- Decoding the handedness: Ever heard of it? Some Japanese knives, like the gyutō, have a subtle handedness.
Check out the edge from both sides and if one side’s polished area is bigger, bingo! You’ve got yourself a handed knife.
Typically leaning to the right, these knives create a graceful leftward curve as they slice through your culinary masterpieces. - Mastering Japanese edges: Here’s the scoop – Japanese knives play by different rules. While Western knives go for a sturdy 30° angle (or 45° for those dainty paring ones), Japanese blades opt for finesse at around 20°.
It’s all about that meticulous craftsmanship, delivering a sharper edge to elevate your kitchen skills.
A practical guide from my sharpening routine
I make it a habit to check my knives while I’m using them. Keeping that honing steel close is key – a quick run-through often keeps a decent edge intact.
There’s something satisfying about putting away sharp knives after a day’s work, knowing everything’s in order.
On my monthly calendar, there’s a reminder to sharpen my knives.
Each one gets a once-over, and if any need a touch-up, out comes the wheel or stone. While I can manage a great finish with my three-wheel sharpener, mastering the stone is still on my to-do list.
A little secret: sharpen your knives only when they truly need it. Bluntness usually stems from neglecting the honing steel, so I’ve learned to use it more often. Surprisingly, regular honing means fewer full-on sharpening sessions.
Lastly, when you sharpen your knives, you’re refining the bevel – the angle at which the blade is ground.
The bevel plays a significant role in determining the sharpness and durability of the edge. Different knives have varying bevel angles depending on their purpose; for example, a kitchen knife might have a different bevel than a pocket knife.


